Your First Repair: Intake to Delivery
A steady six-step routine for every early work order in ReStory: Chill Electronics Repairs.
Last updated: Aug 19, 2026
 Workshop reference
The six-step repair loop
Every job follows the same satisfying rhythm. Slow down at intake, and the rest of the repair becomes much easier.
- Read the work order. Note the customer’s complaint, deadline, and any hints about how the device failed.
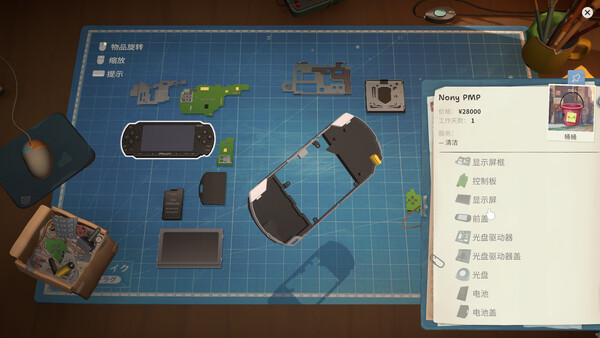
- Inspect the device. Rotate it, check the casing, and look for visible damage before opening anything.
- Disassemble in layers. Remove screws and covers in a tidy order so reassembly is painless.
- Clean and diagnose. Dust, corrosion, and loose connections are common early problems. Test one suspect at a time.
- Rebuild and test. Reconnect every cable, close the casing, then run the device through its requested check.
- Deliver and review. Return the repaired device, listen to the customer, and use the review to guide your next upgrade.
Six checks before disassembly
- Is the right tool equipped on the workbench?
- Do you have one spare of the likely replacement part?
- Did you record the device’s original condition?
- Is the customer’s deadline still realistic?
- Have you finished any active dialogue before starting the timer?
- Is there enough bench space to keep removed parts visible?
Workshop note: A failed test is useful information. Reopen the last layer you touched, check the cable seating, and test again before buying another part.
Making the first day feel easy
Take the low-risk jobs while learning. Upgrade lighting and storage before chasing specialist tools, and keep a little cash aside for a surprise replacement. The shop grows more smoothly when reliability comes before speed.